How To Access Your Camera Settings In The Zencam Desktop Software
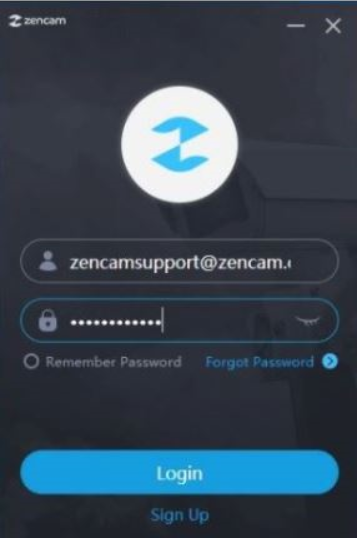
Step 1: Please log into your Zencam Desktop application.
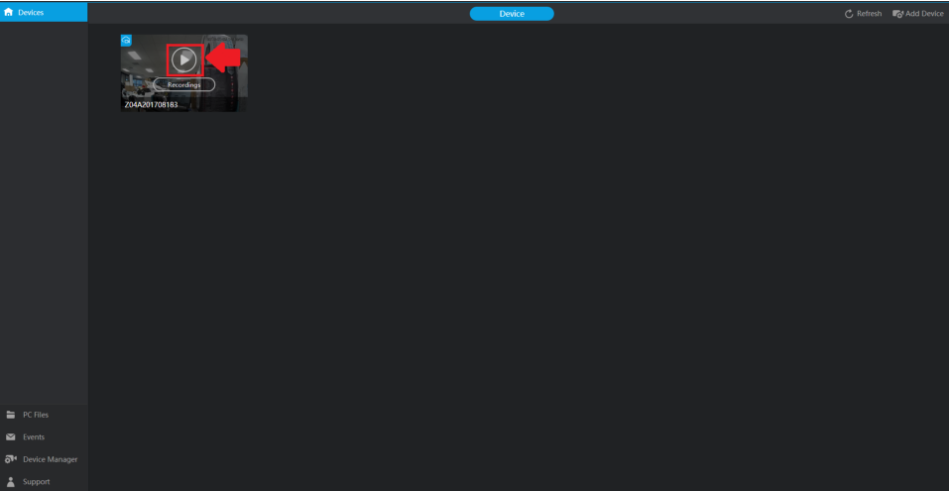
Step 2: Please hover your mouse pointer over the desired camera you wish to access. You will notice ![]() icon and a
icon and a ![]() icon as well. Please select the
icon as well. Please select the ![]() icon to access your camera feed.
icon to access your camera feed.
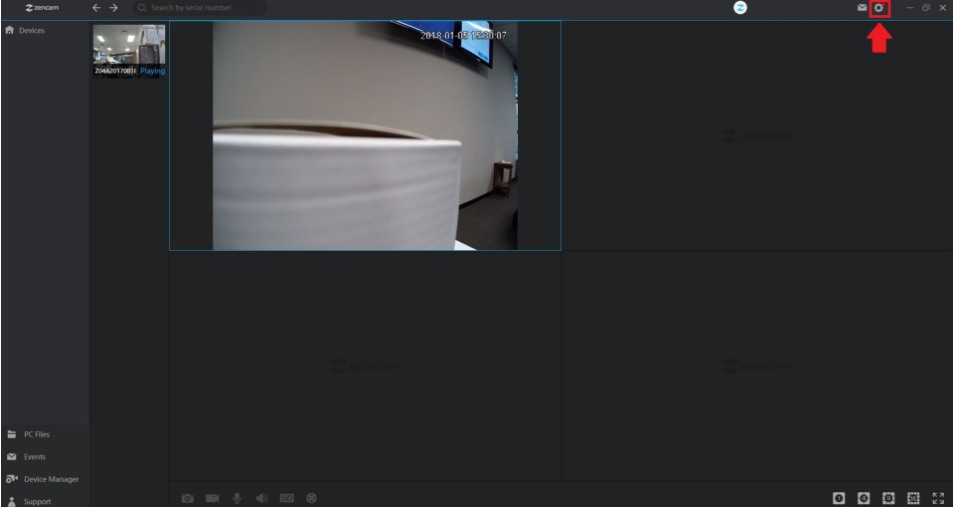
Step 3: Once the ![]() is selected you will notice your live feed will then begin to start playing. In this menu, please locate the settings
is selected you will notice your live feed will then begin to start playing. In this menu, please locate the settings ![]() icon, located in the upper right hand corner of your screen
icon, located in the upper right hand corner of your screen
Step 4: Once you have accessed your camera's settings page. You will see a list of options to chose from.
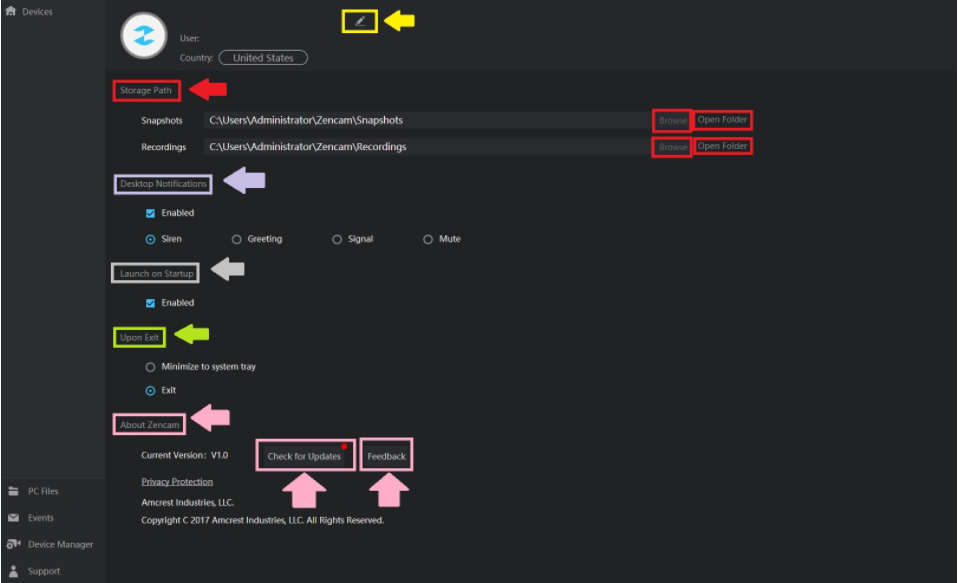
Modify: Click this button to modify your camera's nick name.
Note: The length of the nickname can not exceed 20 characters
Storage Path: Click this button to set your camera's snapshots or recordings to a different path on your computer. The browse button will allow you to search for a specified folder and the open folder button will allow you to view the folder you have selected.
Desktop Notifications: Click this button to enable notifications of motion detected events to be routed to your computer's desktop. There are a few alarm sounds you can choose from; Siren, Greeting, Signal and Mute.
Launch on Startup: Enable this option to launch your Zencam software automatically upon a reboot of your computer.
Comments
Please sign in to leave a comment.